Welcome to All in One Bonsa

Bitten by the Bug


Welcome to All in One Bonsai...a blog that aims to remind me of what I have forgotten. Over the years I have been finding out as much as I can about the art of bonsai. I hope the information in this blog will shed some light to the beginning bonsai enthusiast out there.


I saw some bonsai trees at a corner market one night in Taipei and asked the guy if he was willing to teach me how to create these miniature trees. He directed me to a night school where all the instruction was in Chinese. My Chinese ability is very ordinary at the least so although I was learning bits and pieces, I really wasn't getting all I wanted from the course. The best parts were when the teacher would start pruning a beautiful tree or when he showed us how to repot a bonsai. The mystery was still out there but my interest wasn't waning, if anything it fueled my motivation to find out more. And so I did.


Let the adventure begin...


Recently I have discovered the joy of pottery. Bonsai and pottery are close friends so it was only a matter of time before I was introduced to her. Welcome to All in One Bonsai...and pottery.


Feel free to visit my site where you can purchase some of my handmade pottery. Quite a few pieces have been wood fired as it is the prefered method here in Taiwan:


Esty Shop: AllinoneCeramics


Thursday, 16 July 2015

From One to One Hundred?

It's the Summer holidays at the moment in Taiwan.  We are not travelling back to Australia due to the fact that we now have a little one.  I managed to sneak up to my roof top bonsai garden this afternoon and have a closer look at a tree I wanted to 'improve'.  This particular tree was bought as a tiny cutting 2 and a half years ago.  

Anyway, here is the tree before making some changes.
It has been in this training pot for 6 months after growing in the ground for 2 years.

After digging it out of the ground in late Winter/early Spring all I wanted to do is have it survive.  I tried to secure the tree in this pot with some wire to keep it as stable as possible.  Oh, I also planted it in a free draining soil mix.  I did keep some of the original soil from the ground it came out of as well.

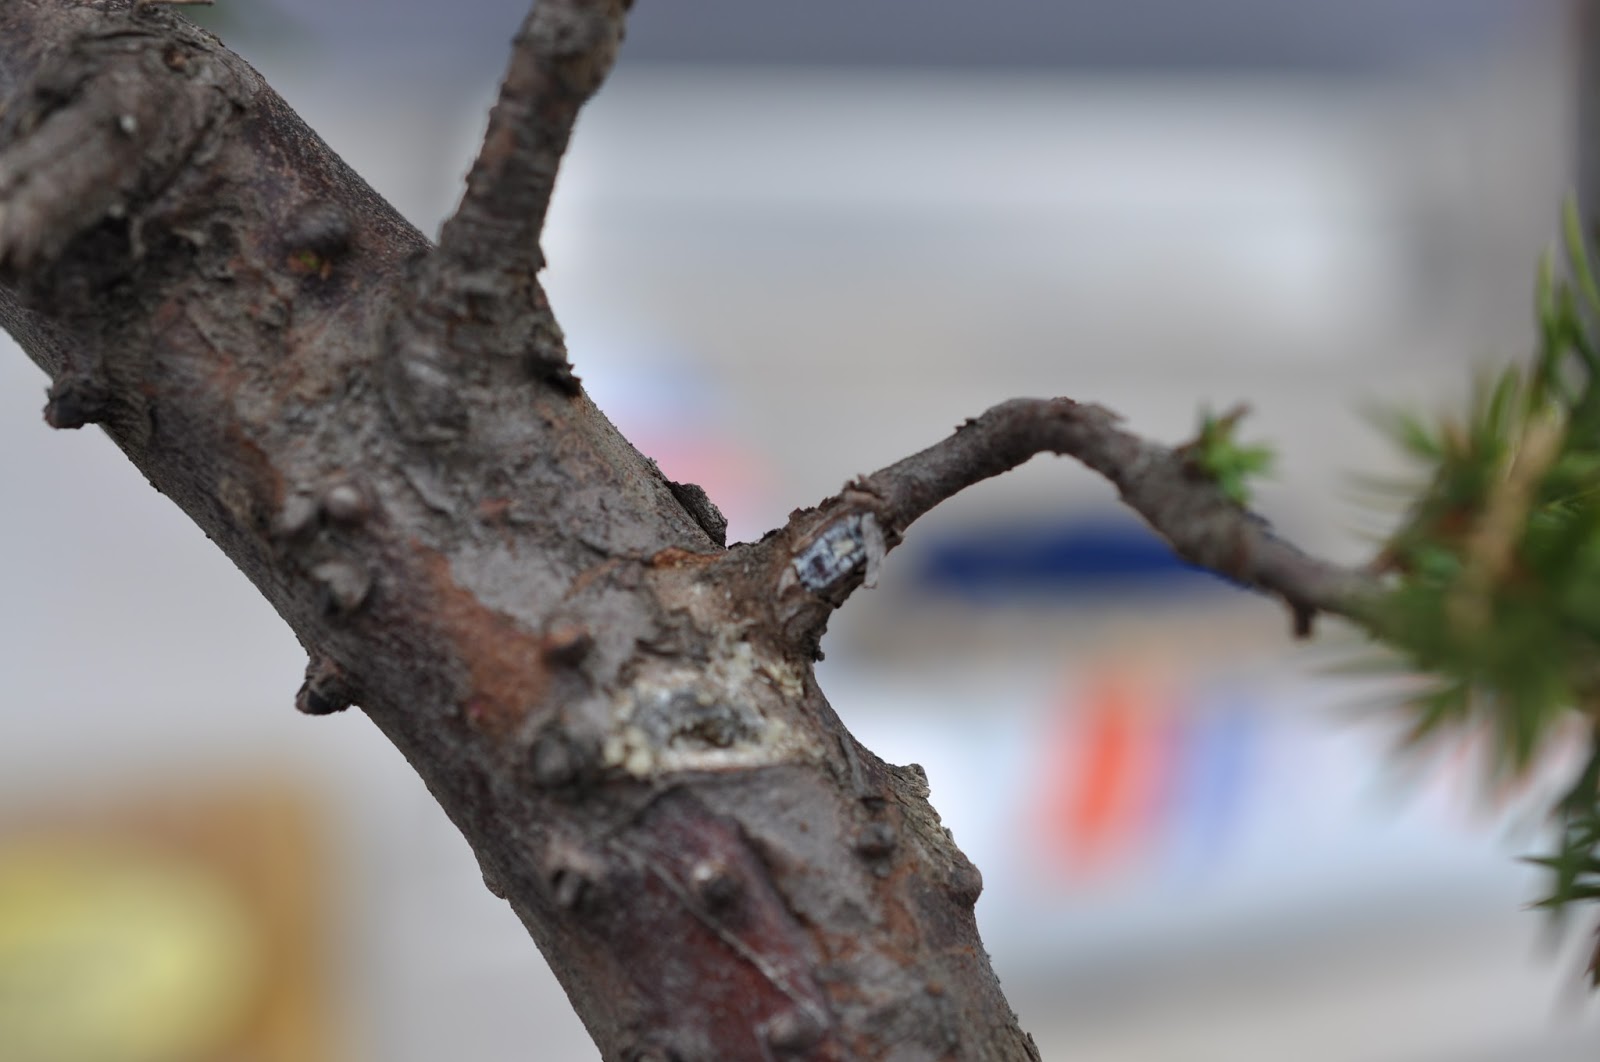
Now, we see here some of the bark peeling.  It is a good idea to peel off this bark on junipers.  The reason being that insects love making their home under here and it could cause a problem later.  The main feature of a juniper is dead wood - it is always something you should consider when working with your junipers - try and create some dead wood areas!  The other thing you can do with junipers is lightly sand paper the bark to bring out the almost purple colour.  I didn't do this but I probably should have!

I continue peeling the bark away with some tweezers all the way up the trunk.  You can see under the bark that reddish/purplish colour.  That colour in contrast to the white of the dead wood is the effect that junipers are known for.

The next step is to remove all the growth you find in the branch junctures.  This juncture growth makes the tree look young and it sucks up energy that you want directed into more desirable areas of the tree.

You can see here some growth removed.  The other reason we do this is that it makes wiring the branch easier.
Ok, decision time.  Try your best to find the front of the tree - the angle that looks the best.  Normally it is the side that doesn't have the trunk poking out to your face at the base and the rest of the trunk is slight leaning its way forward.  This creates a feeling that the tree is larger - looming over you.  The Taiwanese say it is like the tree bowing to the viewer.  It just feels like the tree is ready to offer some shade to anyone that wants to sit in front of it!  A bonsai tree should evoke a feeling of calm.

The other important step is to play around with tilting the tree this way and that.  I felt my tree was leaning too far to the left so I wanted to raise it up.  Once I was reasonably content with this 'new' angle I placed some stuff underneath the pot and began wiring.

I ended up this this design.  These trees cost me about 30 Australian cents to buy as a cutting two and a half years ago.  I planted 70 of them into the ground.  I decided to just practice as many times as possible on these trees and hopefully learn something along the way.  This has been tree number 2.  I also have to say that looking at trees in bonsai books along with what you see on your hikes helps formulate a plan in your mind.  

I really wanted a back branch in here somewhere.  A back branch will give the tree depth.  I choose 3 branches to work with in the end.  If I did this again I think I would look harder for a branch that was going to help with more depth.  

I considered using the top branch as the back branch but I think it looks better with it where it is.

As I repotted the tree I added a mound of soil higher on the left side of the pot to help straighten the tree's angle.  I also added spaghnum moss to assist with humidity.  

I did use lime sulphur on the dead wood.  Lime sulphur hardens up the dead area and protects it from insects and rotting.  I used a tooth brush to apply the sulphur.

 I could have taken the shari (peeled the bark) all the way to the base but I have always liked only part of the tree looking like lightning burnt half the tree. 

On a side note I did all of this in the middle of Summer here in Taiwan.  It probably isn't the best time to do this operation but I wanted to know for sure what I can get away with.  I will however mist the foliage twice a day and I didn't cut any roots when I wired it in this nicer pot.  If it were Spring time I would have cut some roots along the way.  We will see how things work out.

Does this tree look like it has aged from one year to one hundred years?  Probably not but hopefully it has given this tree some more personality and character.  It now has an interesting story to tell.

Hopefully, it doesn't start with...Well, this dickhead from Australia thought.....


Sunday, 5 July 2015

Come and Get It

Maoli Pottery Village

Yesterday I traveled down the Taiwan highways with some pottery friends to collect.  Meeting Mr. Chen at 8 in the in the morning, coffee in hand, we made our way to the middle of Taiwan to a place called San Yi.  San Yi is most famous for its wood carving.  Shop after shop lined the streets with wooden tables, statues of Chinese warriors, gods, and dragons.  However, there is a growing number of ceramic stores where both ceramic and wood are combing.  I saw some beautiful pots with wooden lids which made sense to me.  The potters and wood carvers are working together to create some very original pieces.  

We continued through the main streets and out the back roads to a wood fired kiln where some of my pots were waiting for me.  As soon as we arrived the unloading began.  There is always a buzz of excitement with everyone waiting in anticipation.  Will the wood ash touch my pot is a way that looks beautiful?  Will the heat lick my pot and create a color that no one would ever dream of designing themselves?  I am sure these questions were being asked silently by more than just myself.  
Below are some of the better pots that came out.

I have to start with my favorite.  A lidded jar.  Tea is so popular in Taiwan and many people love keeping their tea in a nice pot where they can spoon out tea leaves and enjoy a good gossip. 12 cm in height.  
The other side.  I used a shino glaze on this pot.  The glaze is the purple color you see on the side.  The rest is just natural wood ash!  I got lucky with this one.
Another shot of the shino glaze.  I was hoping for more of an orange effect but I'm still happy with the result.  
A close up of the lid and speckles of wood ash.  The locals call this 'golden flowers'.
A tea cup, again with a touch of shino glaze.  I believe a shino glaze is a glaze that originated from Japan.  7.5 cm in height and 9 cm wide.
180 degress around we find a different coloring.

The inside of the cup.  Getting ready to drink.  Apparently water tastes sweeter when drinking from a wood fired cup.  I hear there is some reason for this but I am yet to learn if it is true.  Maybe an allinonebonsai reader could supply the answer?

A small bonsai pot.  I was told that these guys were not getting enough heat in the kiln hence the white areas.  4.5 cm in height and 9 cm in width.

I carved out little legs and a drainage hole.
Another, more steeper pot.  5.5 cm in height and 8.5 cm in width.
A tea bowl.  I used a brown clay for this guy.  I tried to use a shino glaze for this cup but for reasons I don't know, it had no effect at all!  
A look in the inside.  7.5 cm high and 9.5 wide.
The next two are also tea bowls.  I used a clay that had a lot of sand in it.  As I was throwing with this clay it was grating in my hands!  I like the look of this clay but it can be a touch painful using it.  Or maybe I am getting a little soft!  I probably should cease moisturizing so much.  What can I say...I'm a modern man.  6 cm in height and 10.5 in width.
A mark on the bottom.
The second one.  This time he was built slightly wider.  6.5 cm high and 12.5 wide.  
A vasey piece.  A small one but an interesting splatter of ash at the top.  9 cm in height.


A more western style tea cup.  8.5 cm in height.  Holds 225 ml of liquid and weight 190 grams.
 The other side.  I was really happy with all parts of this cup.

The ceramic association of Taiwan offered us a huge lunch of Taiwanese food.  Wild pig, chicken (with head still atttached) fish, sweet potato leaves, soup, and tea.  After a full belly I went wondering around the general area.  I found a few old shimpo wheels that were rusted out.  I thought they would make a good photo.

A cool store that sold the very best wood fired pieces.  

A closer view.  I was not allowed to take any photos inside the shop.

Here is one from the outside looking in.  

The other thing I loved about this place was that it was also a school for young mud throwers.  This is their classroom.
Wooden benches where young Taiwanese kids come and made things out of clay.
Sorry I didn't take any pictures of the kiln but there were just too many people and I couldn't get a good shot.  I hope you enjoyed some of these pictures.  Best of luck out there.

Tuesday, 30 June 2015


Taiwan Garden Juniper

Hello all.  Firstly, you may have noticed that there have been very few posts lately.  I apologize for that, however, Annie and I had a baby boy last month so things have been busy.  He is a healthy boy and sleeping at the moment so I have time for a short post.

Below is a picture of a local Taiwanese garden juniper that in early spring of 2015 I dug out of the ground.  It had been growing in the ground for about 2 years. I repotted it in some free draining soil and left it to recover on my rooftop.

This is an example of how small it was 2 and a half years ago.
In early spring of 2015 Jack and I dug some of these trees out of the ground.
I let the tree recover for 6 months, getting plenty of sunlight - over the spring and into the summer.  This is the same tree in June 29th 2015.  The foliage has grown tighter and it looks healthy.  I fertilized this tree every 3 or 4 weeks with an organic fertilizer.

I decided to begin creating a bonsai tree out of this stock.  I jinned the top section and gave the illusion of age by shariing the lower third of the tree (peeling bark off the tree).


I then wired all the branches and attempted to place them in a way that would evoke a feeling of  balance and also being old.  

I will now let the tree sit and grow for a while before I repot it in a nice plain pot in the spring of 2016.  

Time for a baby bath!  Man, how life changes.  

Take care out there.


Tuesday, 31 March 2015

Sun's Kiss

Turning Up the Heat

It's Spring time in Taiwan at the moment.  It just hit April 1st and the weather is starting to find its feet.  However, it's not as hot as the mountain wood fired kiln in Maoli, Taiwan.  Maoli is an area of beautiful mountains and humble people.  The kiln in Maoli is a favorite of many and always produces good results.  This particulr kiln rises its heat to 1,600 degrees celsius.  The high temperature throughly cooks anything in its path.  Below are some of my pots that came out of this kiln.

It was a mixture of cinnamon on yogurt and flahes of pink, sometimes orange.  The locals call this Sun's Kiss.

I have been adding a finger swirl at the base of my pots.  A lot of people do this - I like it so I copy them!


My second tea bowl that has a splash more orange.

I have been experimenting on carving a foot to create a more natural look.  I'm not sure if it works or not.

Fill me up!

The clay I used was China White #26. I do like the Japanese style of pottery and I try and make some things that are in that ball park - some may say not even the same sport Mister.

A small bowl/vase that is 9 cm in height.

Whitey on the other side.

Parts of these pots almost look like a traditional shino glaze.  No glaze was added to any of these pieces.

A closer look at the inside.

I trimmed the foot of this one.

Another tea bowl - again trying to go for that old wabi sabi look.

I think this one was my favorite.


The humble bowl - 14 cm in diameter.

I left some tool marks to say I woz ere.

This little guy is only 7 cm in height.

Flip flop.

And to finish with...some brown clay used in the same kiln.  A competely different look. 

I thought the melted wood ash looked interesting on this tea bowl - 7 cm in height.


I did have some other pieces but a few cracked and others were warped by the extreme heat.  I think the next time I use this kiln I will make everything a little thicker so they stand up, fight back and not buckle.

Take care out there!