Welcome to All in One Bonsa

Bitten by the Bug


Welcome to All in One Bonsai...a blog that aims to remind me of what I have forgotten. Over the years I have been finding out as much as I can about the art of bonsai. I hope the information in this blog will shed some light to the beginning bonsai enthusiast out there.


I saw some bonsai trees at a corner market one night in Taipei and asked the guy if he was willing to teach me how to create these miniature trees. He directed me to a night school where all the instruction was in Chinese. My Chinese ability is very ordinary at the least so although I was learning bits and pieces, I really wasn't getting all I wanted from the course. The best parts were when the teacher would start pruning a beautiful tree or when he showed us how to repot a bonsai. The mystery was still out there but my interest wasn't waning, if anything it fueled my motivation to find out more. And so I did.


Let the adventure begin...


Recently I have discovered the joy of pottery. Bonsai and pottery are close friends so it was only a matter of time before I was introduced to her. Welcome to All in One Bonsai...and pottery.


Feel free to visit my site where you can purchase some of my handmade pottery. Quite a few pieces have been wood fired as it is the prefered method here in Taiwan:


Esty Shop: AllinoneCeramics


Saturday 14 November 2015

Find a Way

Follow the Trunk Line

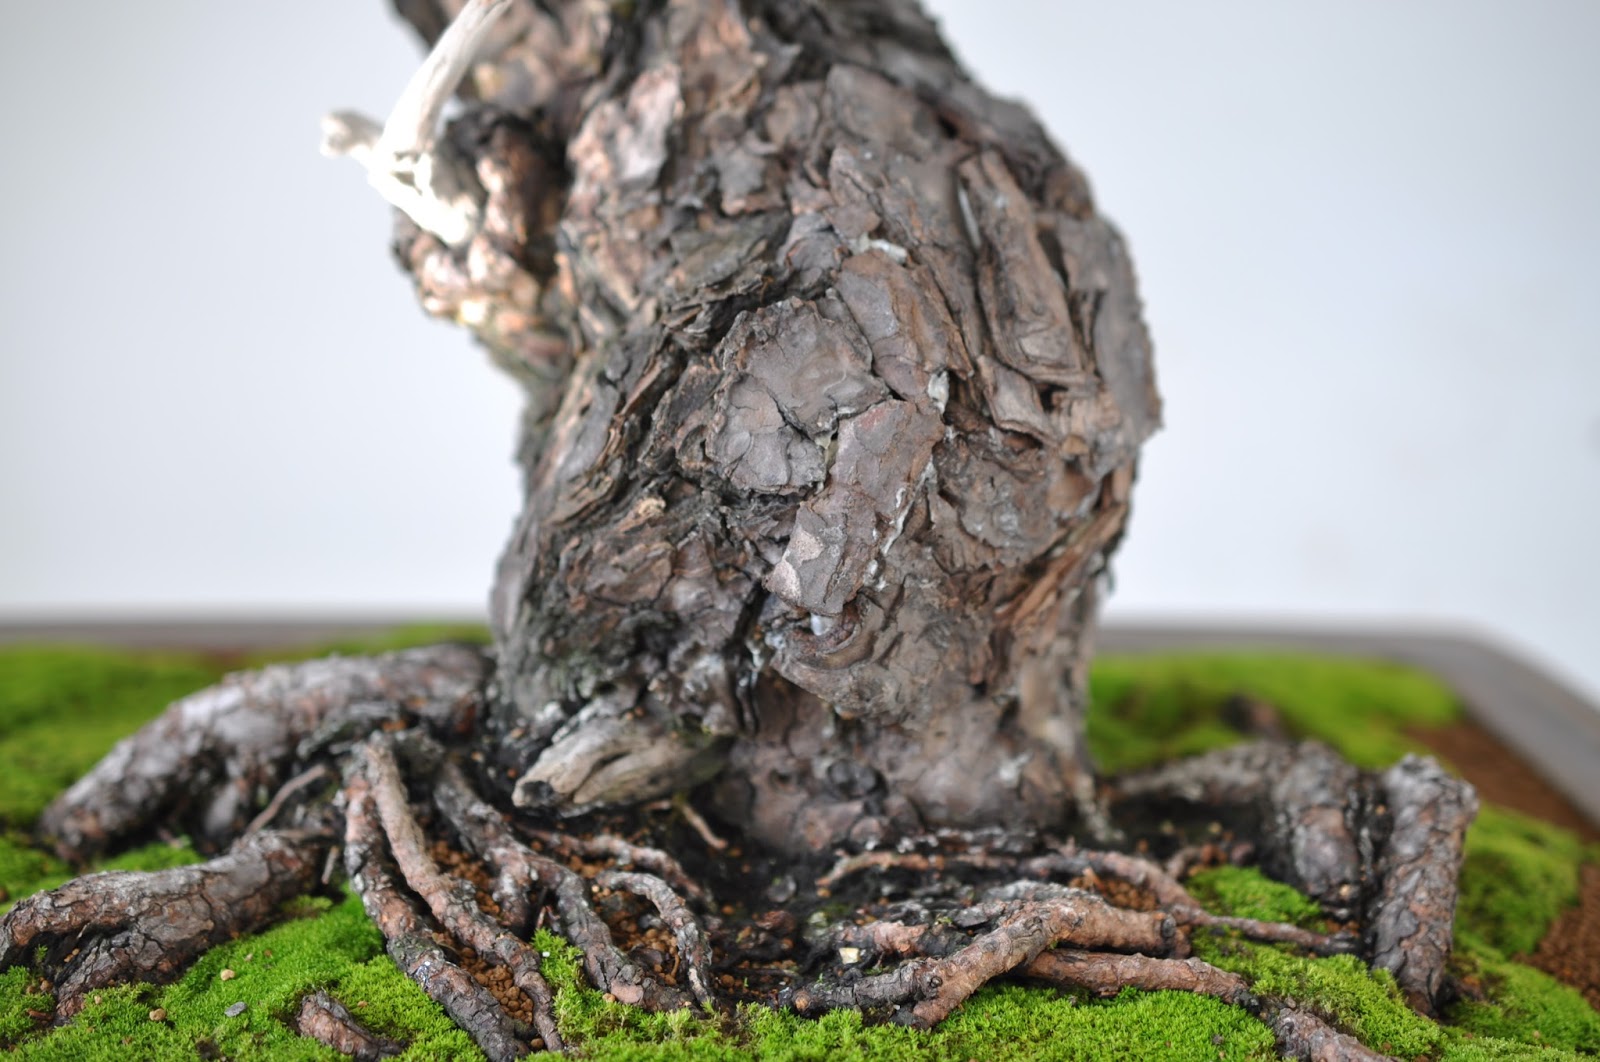
The reason I bought this small Itogawa juniper is because it had some good features.  The two main areas are the trunk - thickish compared to the side branches, and the second is that the leaves are small.  Some junipers have slightly larger leaves which make it more challenging to create a shohin bonsai.  The larger scale like leaves are best suited for a bigger bonsai.  It is all about proportion.  

So this is the tree.  It served up a few challenges.  

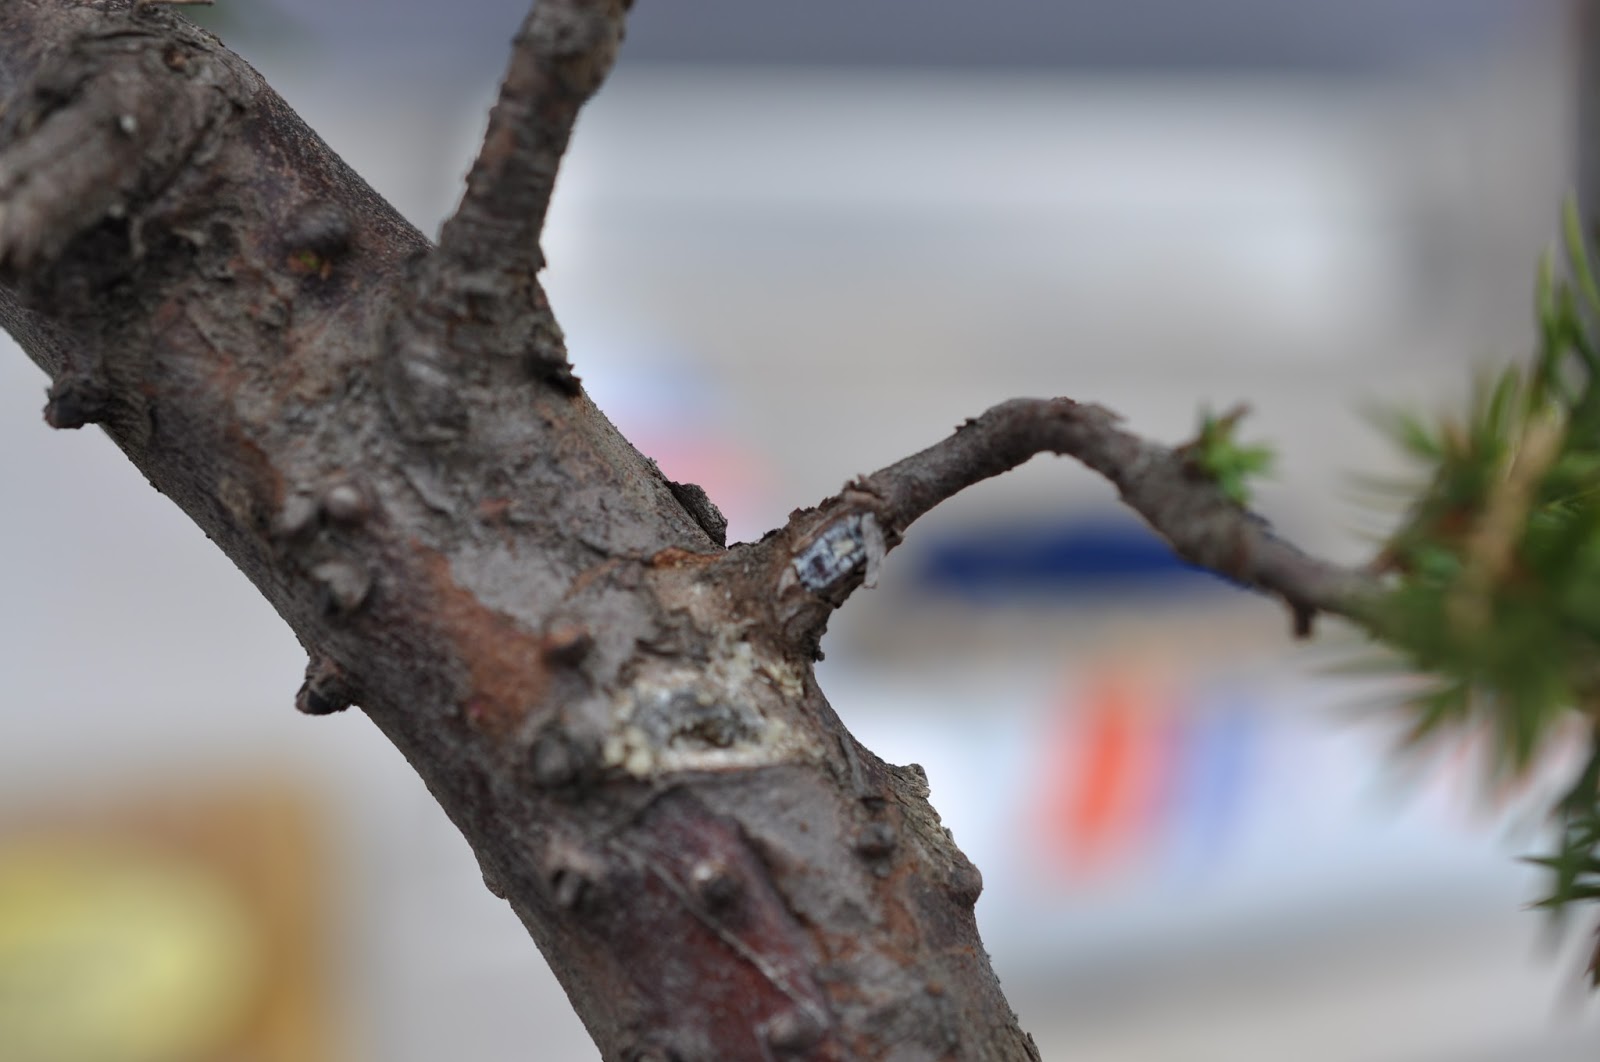
When faced with something like this, always follow the trunk line.  Scan it starting from the base and continue its line until you can imagine the apex.  Remember, you will be using wire so moving the trunk around (within reason) should also be in your mind.

As you do this also consider a side branch that could possibly be the new apex and the remaining upper section of the trunk could be turned into a jin (dead wood).

Continue visualizing the trunk line and picture where those other branches will be placed.  You don't need to have everything perfectly planned out.  I don't anyway!  Your most important consideration should be the trunk.

Once you work out the structure of the trunk you can begin from the bottom and re position all the other branches.

I plan to repot this guy in spring in a nice pot.

Take care out there!

Saturday 31 October 2015

Chop and Change

Does Your Bonsai Tell a Story?

Part of the lure of bonsai is that you can communicate through your trees.  You buy or grow a tree, study it for a while and decide what story you want it to tell.  This thought helps you know what to cut, what to keep, and what to bend.

I have a bunch of little junipers that weren't that interesting really.  I bought them a few years ago and wired them at about that time and just left them for another day.  Today was the day to make them tell more of a story.

We will start with this guy.  I wanted some more movement in this tree.  It was a touch boring for such a small tree.  I wanted the viewer to imagine that the left side of the tree was damaged in a storm by crushing wind.  After I decided that will be this tree's story I went ahead and jinned the left branch.  The added bonus of doing this is that now my vision is not torn left and right at the same time (the two lower branches looked like a continuous line), sending a confusing message.  

The flow of the tree now moves left and then right.  It is simpler and easier to look at.
 The second tree I worked on today had a few things going on.  The left side had a thickish branch going straight up.  I thought it was too tick to bend so decided to make this tree taller.  I wired the turning branch, that was at a 90 degree angle, up.
This tree had some enough branches to do something with.  I wanted branches right, left, and back.  I also wanted to keep some smaller ones for the apex.


I decided to chop off most of the branch that was originally coming straight up and turned it into some dead wood.  The story of this tree?  Some bear came along and sharpened his claws of the lower left branch, killing it.  He now uses it as a back scratcher from time to time.

Have fun creating stories with your bonsai.  Make them realistic and use nature as your guide.


Friday 9 October 2015

TienMu Bonsai Exhibition


Just Around the Corner

In a Sports University foyer, next to a baseball stadium, we find a fantastic little bonsai exhibition of about twenty or so trees.  The suburb of TienMu has been where I have been living for the past 13 and a half years.  It is here that a bonsai exhibition is held.  The show went for three days and displayed some unique Taiwanese bonsai.  My friend and bonsai leader in Taipei, Jack Lin,  ran and organized this event.

I hope you enjoy.

This is the first Black Pine I see as I enter the exhibition.  Nice thick trunk and plenty of foliage.

This guy caught my eye immediately.  A unique Chinese Elm.

A juniper with dead wood up the middle, adding interest.


Holding the pose.


A compact shohin Black Pine.  Beautiful pot too.

After a lot of clip and grow we can develop branch division like this.  My guess is that the tree will probably be cut back at some stage soon as the tips of the branches are extending to the point where the silhouette will be lost. This is the process of bonsai. 


A larger Black Pine.  Beautiful platted bark is a sign of great age.

The pine needles would be loving this nice sunshine.  The needles are like solar panels sucking up the energy needed to keep the tree healthy.

A solid fellow.  He looks pretty stable to me.

Up into the top third of the tree.  Brilliant bark!


This tree has a lot to say.  Trees that are old or appear to be old are more interesting.  Why?  Would you like to sit down and have a conversation with a 6 year old child or someone who just celebrated their 95th birthday? (one that has all their faculties in order!)  Not sure if my analogy works - it depends who is the 6 year old - some kids are fun to talk to and what about the 95 year old - maybe they are too bitter to spend anytime with you and can't stop dribbling.  I digress.

I love the trunk but in my opinion we need to do something about the apex.

Age.

A cool tree.


The main reason I liked this tree is because of what was left at the base. 

You don't see this very often.  Normally, branches growing at the base are swiftly removed.


I didn't quite get the light right for this picture but I wanted you to see the tree before I took a close up of the base.  I'm not exactly sure what kind of tree this is but I know it is a native of Japan and that it grows extremely slow.  This would be a very expensive tree!

I enjoyed looking at the base of this tree.


Jack and another bonsai professional - and Annie entertaining the little guy.

His first bonsai exhibition.

I hope your tress are growing well out there and that they are giving you happiness.


Wednesday 16 September 2015

Coffee Mugs

The Power of the Bean

One of the life's simple pleasures is enjoying a hot cup of coffee either while with friends or just on your lonesome contemplating nothing.  I shouldn't say nothing - I always have plenty to think about when I drink coffee!  I wish it were nothing.

Coffee is a good drug.  And a good drug deserves to be consumed from a mug that adds to the experience.  These were my thoughts as I went about making some ceramic coffee mugs over the last few weeks.  

Let's start with this little guy.  The glaze is a new one created by some local Taiwanese potters.

Some varying color is always more interesting.

I made the foot bigger this time as it is easier to glaze the mug.  You just pinch the foot ring and dip it in the glaze bucket.  Like magic it gets fired and comes out like this.


I have been attempting to throw different shaped coffee mugs.  This one was an experiment. 

To be honest I have been google searching different shaped mugs and stealing ideas.

A more basic shape.  This was another new glaze - it should look a light green color.  I bought the glaze for some tea pots that I'm making.  This mug was the test.

The color actually looks a little better live.  My camera work definitely needs some improving.  I need to get those shiny parts out.


Same glaze but on a brown clay body.  The brown clay is local Taiwanese clay from an area called Maoli.

I was reasonably happy with the color on this clay.  I love how the varying clay will affect the glaze color.

I had a lot of trouble attaching handles to mugs.  The trick I have learned is clay consistency.  The body and handle needs to have similar mostiure levels to made the union successful.  The other thing I have been doing is not letting the clay dry out too quickly - so I cover the mug in plastic and let it settle for a few days.  This has helped a great deal.

The same glaze as the first picture but on a bigger mug.  The angle of the handle is an interesting aspect to consider.  You can create different moods if you vary this piece.  To evoke a feeling of lightness and cheer, make sure your handles are not droopy.  The top part needs to be directed slightly upwards. 

With this mug I tried to add some more texture interest.  The last thing I wanted the mug to look like was it coming out of a machine.  Having a unique part to a coffee cup makes it a little more personal.

A different angle.

Bottoms up.

This mug is a larger one.  It is a little more solemn.

The lip is opened a little more here - hopefully inviting you to drink.  A mix of two emotions - drink and things will be ok.

I made a few of these mugs for friends.  The larger red one is for a mate I work with at school and the last one is for an old friend who I used to play football with.  Both guys are champions.
 
Making these mugs is an interesting experience.  First, I was concentrating on making something that is useful but also something that looks good.  A lot of focus went into the technical parts of this (as I am still learning how to move the clay around).  However, the more soulful part went into the thinking about the person who is going to use that mug while I was making it.   It surprised me how much thought goes into making something for someone else.  You imagine what shape and color they may like, you remember things that you have done together, you visulize them drinking from the mug - it goes beyond just the technical. 
 
Cheers!


Thursday 16 July 2015

From One to One Hundred?

It's the Summer holidays at the moment in Taiwan.  We are not travelling back to Australia due to the fact that we now have a little one.  I managed to sneak up to my roof top bonsai garden this afternoon and have a closer look at a tree I wanted to 'improve'.  This particular tree was bought as a tiny cutting 2 and a half years ago.  

Anyway, here is the tree before making some changes.
It has been in this training pot for 6 months after growing in the ground for 2 years.

After digging it out of the ground in late Winter/early Spring all I wanted to do is have it survive.  I tried to secure the tree in this pot with some wire to keep it as stable as possible.  Oh, I also planted it in a free draining soil mix.  I did keep some of the original soil from the ground it came out of as well.

Now, we see here some of the bark peeling.  It is a good idea to peel off this bark on junipers.  The reason being that insects love making their home under here and it could cause a problem later.  The main feature of a juniper is dead wood - it is always something you should consider when working with your junipers - try and create some dead wood areas!  The other thing you can do with junipers is lightly sand paper the bark to bring out the almost purple colour.  I didn't do this but I probably should have!

I continue peeling the bark away with some tweezers all the way up the trunk.  You can see under the bark that reddish/purplish colour.  That colour in contrast to the white of the dead wood is the effect that junipers are known for.

The next step is to remove all the growth you find in the branch junctures.  This juncture growth makes the tree look young and it sucks up energy that you want directed into more desirable areas of the tree.

You can see here some growth removed.  The other reason we do this is that it makes wiring the branch easier.
Ok, decision time.  Try your best to find the front of the tree - the angle that looks the best.  Normally it is the side that doesn't have the trunk poking out to your face at the base and the rest of the trunk is slight leaning its way forward.  This creates a feeling that the tree is larger - looming over you.  The Taiwanese say it is like the tree bowing to the viewer.  It just feels like the tree is ready to offer some shade to anyone that wants to sit in front of it!  A bonsai tree should evoke a feeling of calm.

The other important step is to play around with tilting the tree this way and that.  I felt my tree was leaning too far to the left so I wanted to raise it up.  Once I was reasonably content with this 'new' angle I placed some stuff underneath the pot and began wiring.

I ended up this this design.  These trees cost me about 30 Australian cents to buy as a cutting two and a half years ago.  I planted 70 of them into the ground.  I decided to just practice as many times as possible on these trees and hopefully learn something along the way.  This has been tree number 2.  I also have to say that looking at trees in bonsai books along with what you see on your hikes helps formulate a plan in your mind.  

I really wanted a back branch in here somewhere.  A back branch will give the tree depth.  I choose 3 branches to work with in the end.  If I did this again I think I would look harder for a branch that was going to help with more depth.  

I considered using the top branch as the back branch but I think it looks better with it where it is.

As I repotted the tree I added a mound of soil higher on the left side of the pot to help straighten the tree's angle.  I also added spaghnum moss to assist with humidity.  

I did use lime sulphur on the dead wood.  Lime sulphur hardens up the dead area and protects it from insects and rotting.  I used a tooth brush to apply the sulphur.

 I could have taken the shari (peeled the bark) all the way to the base but I have always liked only part of the tree looking like lightning burnt half the tree. 

On a side note I did all of this in the middle of Summer here in Taiwan.  It probably isn't the best time to do this operation but I wanted to know for sure what I can get away with.  I will however mist the foliage twice a day and I didn't cut any roots when I wired it in this nicer pot.  If it were Spring time I would have cut some roots along the way.  We will see how things work out.

Does this tree look like it has aged from one year to one hundred years?  Probably not but hopefully it has given this tree some more personality and character.  It now has an interesting story to tell.

Hopefully, it doesn't start with...Well, this dickhead from Australia thought.....