Back from the Heat
I feel it is a good match. Pottery and bonsai. Both have been a surprise discovery for me over the last 5 years. They have taught me to use my hands in other ways beyond the daily mundane rituals. I have a new appreciation of my hands. It feels empowering to create, making something that can be used or just looked at. I hope you enjoy these latest pots that have come back from the heat.
 |
| All these pots have been wood fired in Taiwan. |
 |
| Part of the fun of pottery is that you can try different techniques to get unique results. |
 |
| I sliced this tea bowl when wet with a twisted wire to create the ridged effect. I then dipped the porcelain in a red clay, and finally white glazed the piece before placing it in a wood fired kiln for four days. |
 |
| A close up of a nice drip of glaze. |
 |
| A zoomed out shot. Some sections are more shiny, while others a little more matte. |
 |
| Waiting to be filled up with whatever. |
 |
| A pot with texture is asking for someone to pick it up. I think that is a sign of a good piece - it screams of wanting to be touched and held. |
 |
| A new style for me. While wet, I cut into the clay with the sharp edge of a metal ruler. I then stretched out the clay with my fingers. |
 |
| My hope was that the wood ash would find its way in the ridges as it became a melted glaze. It kind of worked in parts. |
 |
| I may try this technique once again, but next time I think I will try and avoid any straight lines. |
 |
Although the contrast of straight and some deep cut grooves may be the way to go?
I'm also experimenting ways of where and how I put my seal on a pot. The seal can be part of the overall design and proof that it was actually handmade. I have my Chinese name on a seal - I thought about it for a while. I tried signing my name in English and it always looked so boring - until I find a way to be creative with my English seal, I will continue using my Chinese chop.
|
 |
| I glazed the inside and lip of this pot. |
 |
| Tea bowl. |
 |
| I mixed two different clays for this bowl. I then glazed half. |
 |
| I made this guy quite light with a shallow foot ring. |
 |
| I have been rolling a small ball of clay and pressing my seal into it as a final touch. |
 |
| I used a simple white glaze, but when wood fired, it has a nice green smoky appearance. |
 |
| This guy was probably my favorite. Simple, comfortable shape, with an interesting colour spread. |
 |
| I made the lip undulating which creates a feeling of movement but also modesty. |
 |
| A section of the glaze that I applied melted the foot ring onto the wad. I had to grind it off so as the cup would stand without wobbling. The whiteness showing up on the foot is the result from grinding. I would like to tone down the whiteness but I am yet to find out how. |
 |
| I applied the glaze too thick. You can see it here dripping down and settling on the foot, adhering it to the wad. My mistake. |
 |
| A small tea cup. I added Japanese white clay slip after trimming. |
 |
| I impressed a finger dent in the side to add a touch of ....uniqueness? |
 |
| A splash of white glaze on the other side. |
 |
| I think I will continue dipping some pots into my Japanese white clay slip. I like the effect. |
 |
| A tea jar. |
 |
| Again I applied the glaze too thick. It pooled down the bottom and stuck on the wad. |
 |
| I removed it with a grinder but it would be best if it didn't happen. I think the jar would have been nicer - however, it does tell a story! |
 |
| This guy is the size of my thumb. |
 |
| I always make a few very small tea cups and throw them in a firing. |
 |
| They are all different. |
 |
| I have about 30 or so up until now. |
 |
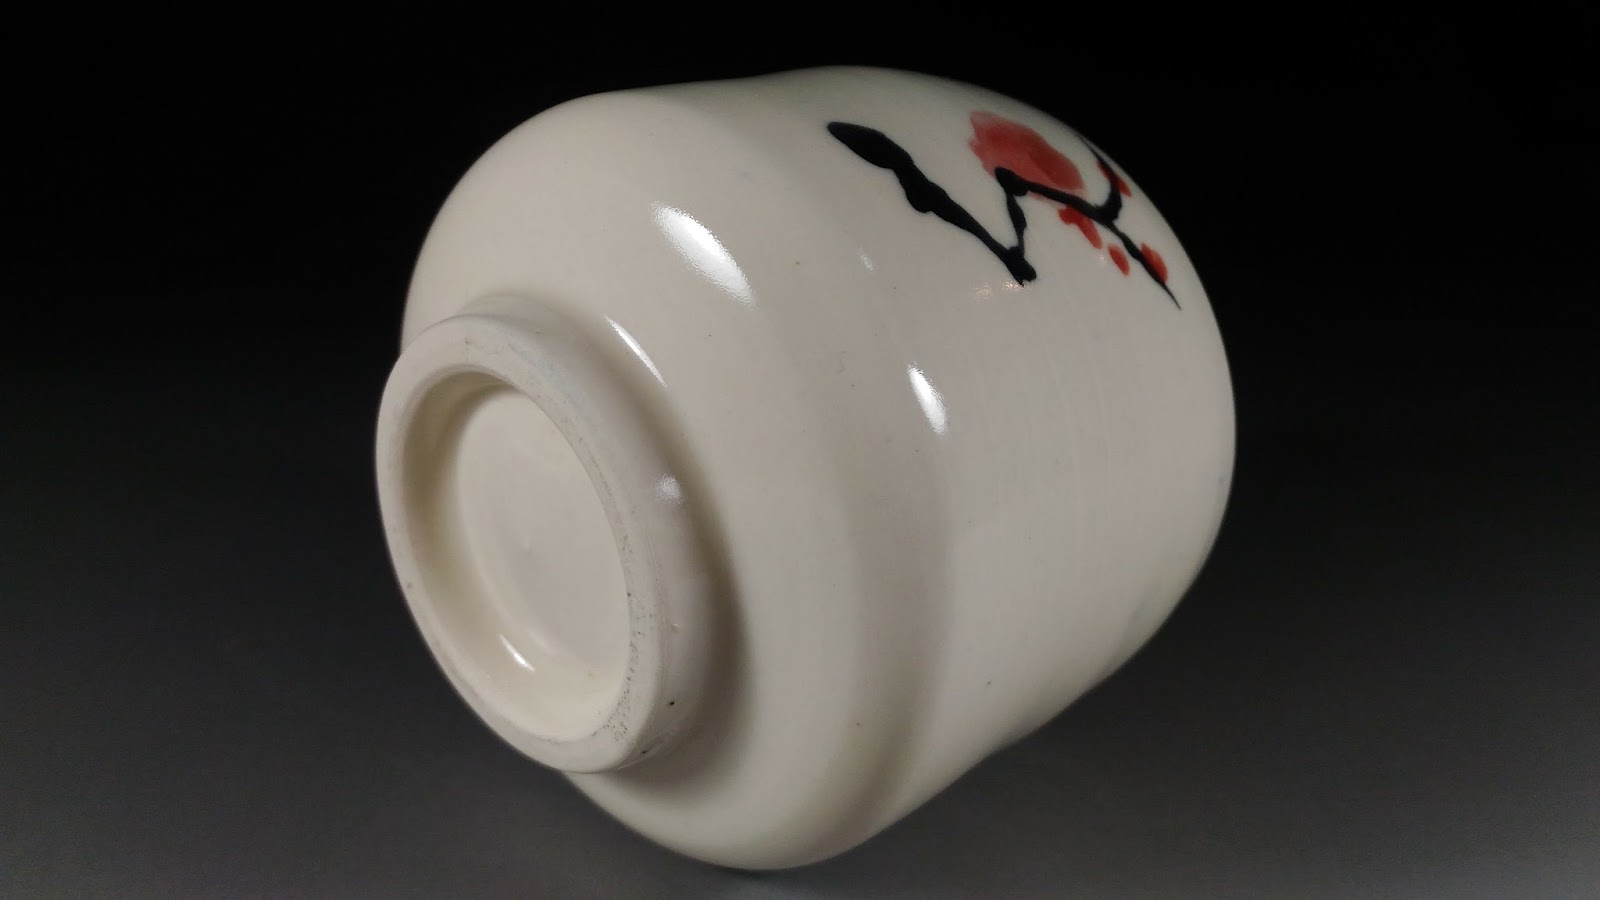
| This last fellow isn't as small as my thumb, but not too much bigger. He was fired with an electric kiln. I have been playing around with some painting as well. |
 |
| The other side. |
 |
Everyone loves a nice foot ring. It is one of the first things someone will do when picking up a pot. Make sure you get the ring right!
Thanks for reading! I hope your trees and pots out there are giving you some joy.
Please visit my online shop at https://www.etsy.com/shop/AllinOneCeramicsTW?ref=seller-platform-mcnavfor these and other pieces.
|


Just caught up with your latest post! Although I've seen many of these pots in person, they still look good when viewed again in photos. I also like your favourite: there's something about this deceptively simple style. The muted colours and simple drip of the glaze. The cherry blossom art fits well with the season too!
ReplyDelete