Bonsai in Japan - Osaka
At the moment I am in Osaka, Japan learning more about bonsai. After searching on the internet I stumbled across Fugikawa's International Bonsai School. It looked like something to check out so I have.
I am staying 10 days at the nursery. Below is a short run down of my experience studying at the bonsai school. I hope this gives the potential visitor to the school an idea of what you can expect once you commit.
Arrived at 11 p.m and found my hotel - small, cheap and close to where I want to be. Ticks all the boxes - although a little less smoke would be nice.
Japanese breakfast of fish and seaweed. Breakfast of champions!
I hire a bicycle from the hotel and start searching for the nursery, one hand on the handle bars and the other on a map. It takes me about 40 minutes of cycling, asking 5 people for directions, and not looking too manly on my girl bike before I finally find the nursery. It lies in an inconspicuous place, in a quiet street at the back of a car factory.
After meeting the friendly teachers and apprentices at the nursery these are some pictures of the bonsai that greet me on my first day:
 |
| A powerful solid boy. |
 |
This tree is moving to the left. The lower branch also moves in the same direction and should be the longest branch. I wasn't really aware of this design feature before but it is one that I will use now when shaping my trees.
|
 |
| A maple. |
 |
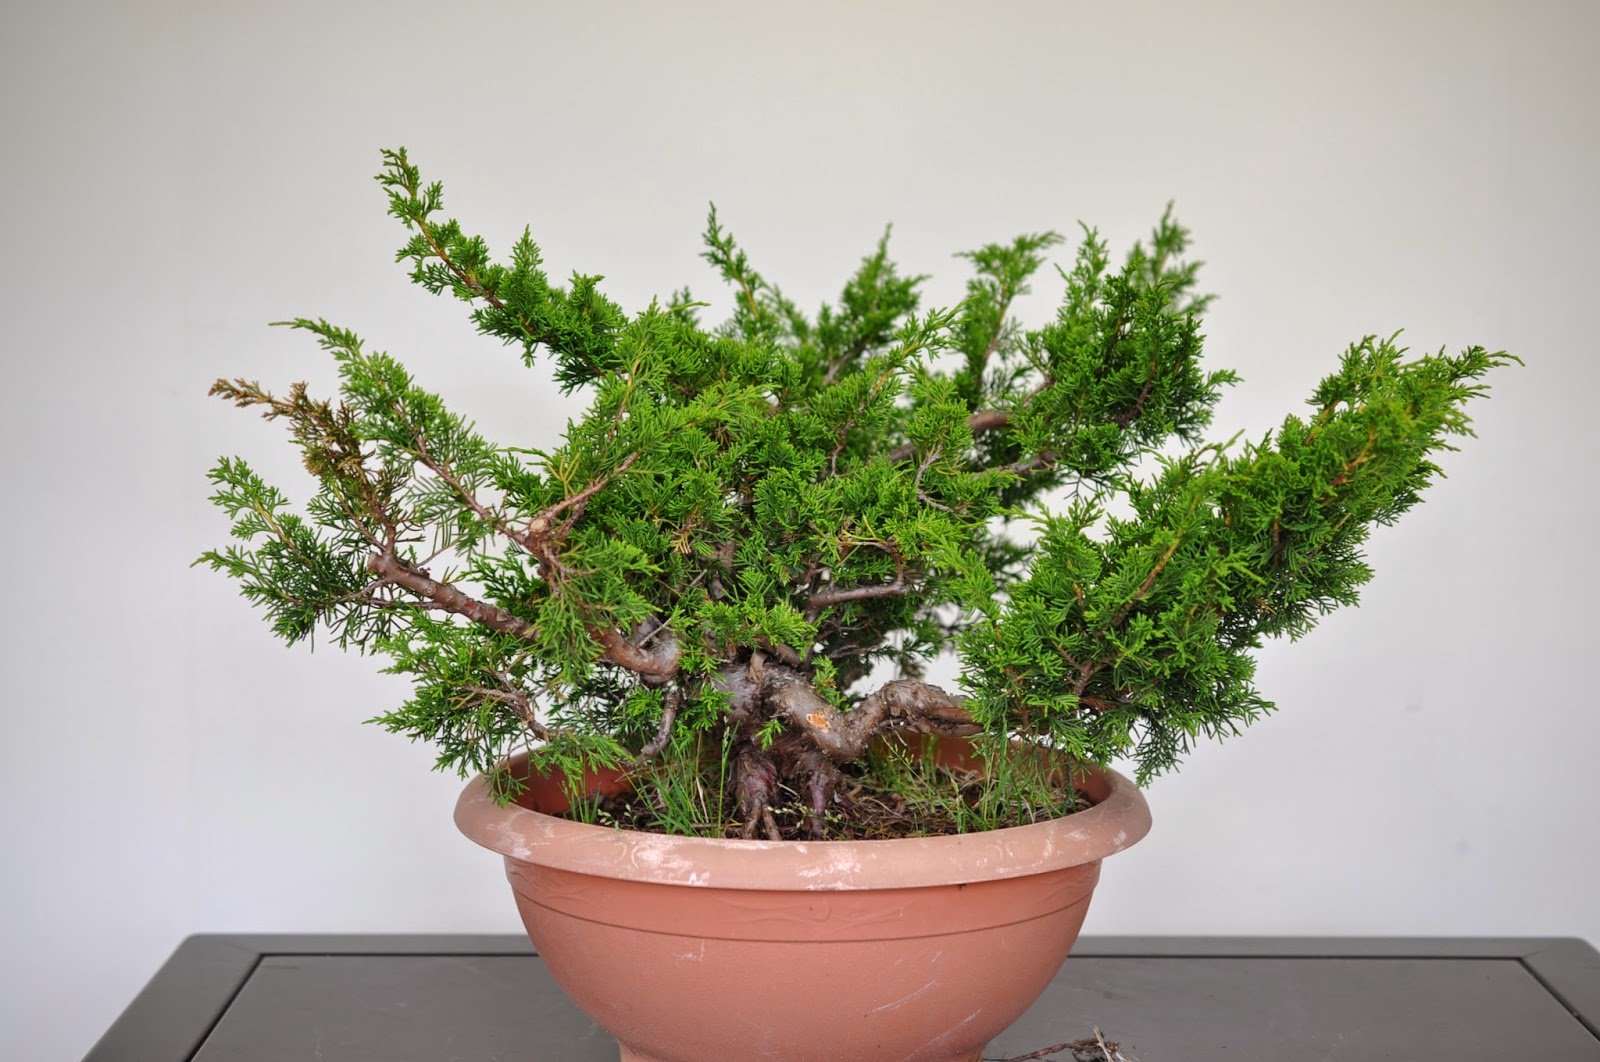
I became settled quickly and was asked to work on this small juniper - shimpaku variety. I removed all previous wire and then worked with the teachers to improve the future shape of this tree. I was happy to receive a small tree to start with. Most of my bonsai at home are this size so I hope to be able to learn some design and shaping skills to make these trees appear older and more balanced.
|
 |
| After wiring and repositioning some of the branches. I removed very little foliage. |
It was a great first day. I have a feeling I will be doing a lot of wiring small juniper trees. This is exactly what I wanted.
The next morning I try and take a short cut to the nursery but get lost. I arrive late.
After removing the wire the very next step is to decide on the angle of the tree. Are you going to tilt it to the left, right, forward? Decide early - this will influence some of the cuts that you make.
Once you have decided, remove any growth that is too long or too weak. Anything that is growing underneath branches - remove.
A juniper will develop little balls of foliage. It is important to use your fingers to hold
the small branch and then use your thumb and index finger to gentle pinch and
lift the foliage ball. If the foliage in
your fingers is too low, pinch it away, if there is too much growth coming straight up, pinch it away. Do this to every branch and do it as early as possible – it serves two
purposes:
1. It will be easier
to wire and place later
2. It is the
beginning of training the tree to create even foliage pads.
The teachers at the nursery emphasised that covering up the neck of the tree is important. I was removing too much foliage from the top third of the tree. These small branches can be positioned (after wiring them) to cover up the neck. By doing this the tree will look more mature.

 |
Cycling home from the nursery it is common to see the local apartments with bonsai on balconies or in their front yard. This family had some nice ones.
|
 |
| Same house. Japan really is fascinated by bonsai. You see them practically everywhere! |
 |
| I loved these drink stations scattered throughout the streets. You are never more than 10 minutes walk from one of these babies. |
Day 4 at the nursery and the weather remains just about perfect. I was expecting the weather to be brutally hot but I was surprised by the mild weather. June 12th, 2014.
I begin my fourth day by taking morning pictures of the trees.
 |
| You can see the top third covered by foliage, hiding the neck with green. |
 |
| This guy was in a corner of the nursery doing his best. |
 |
| A powerful juniper with amazing dead wood. |
 |
| A mother and her babies. |
 |
| A very healthy, full looking tree. |
 |
| My tree for the day is a needle juniper. This particular needle juniper has very soft foliage. |
 |
| After deciding on the angle you tie it down before cutting any foliage. |
 |
| I removed too much foliage! It grows quite quickly so I am hoping it will fill out in no time. This tree didn't get rave reviews from the teachers or apprentices. |
Day 5 at the nursery and I am getting into the grove. After working from 8:30 until 5 p.m everyday I look forward to my evening meal. I discover a new restaurant each night. It is a quiet area but still packed with all that you want.
This is almost half way into my stay in Japan and as I work I gain an even greater appreciation of the effort and concentration involved in doing this full time. I am gaining more knowledge of how to make a tree look good but I am still filled with many doubts. I can imagine that once you have a clearer picture of how you will style a tree, it would be very meditative going about creating something that looks pleasing. The teachers and apprentices work in almost total silence as they focus on their particular trees. Always thinking about how to choose which branches to wire in a stable way, what to cut, what to leave, what to bend, working from bottom to top, finished at the apex - which is the most difficult of all!
 |
| An old gnarly looking pine in the literati style. |
 |
My next tree took me two days to complete. Step 1 - remove old wire. Step 2. - pull old needles off, leaving 10 pairs at each candle. The candle is the new branch that is growing. Once reducing the needles down to 10 pairs, you cut the candles. Now, because we were also going to wire this tree we had 3 approaches when dealing with these candles. Some candles were strong - the top ones are generally the strongest. The ones growing around the middle are of medium strength and the bottom ones are quite weak. Step 3 - cut the strong ones but leave a third of the candle. This will delay bud growth. Cut the medium candles at the base. Now these buds will have a chance to grow a little stronger. And for the weaker ones we just leave them and let them grow longer. There is a good chance that there will not be any new bud growth throughout the summer anyway. Take care of these guys next year. The idea with pines is to re balance the growth throughout the tree. After about a few weeks buds will grow at the base of the candle that you just cut. It is now important to keep just two buds that will then grow into candles and eventually branches. Pluck any other buds that grow from the base of the cut candle.
If you didn't have to wire the tree. You should leave the weak candles, cut the medium ones at their base but wait 10 days before cutting the stronger ones at their base. This will give all candles a chance to grow at the same speed, keeping the internodes short. |
 |
The end result after about two days. I wired this entire tree using copper wire. Wiring with copper is a lot harder than using aluminium. The idea is to fan out the branches as much as possible to create wide pads.
You also want to turn the branches in towards the trunk slightly so you end up covering and not seeing the middle and tips of the branches. If you opt not to turn them inwards you would have a thin straight branch with some needles at the end. This will not look old! |
 |
| As I am riding my bike back to my hotel I spy a beautiful old house. I thought I would take a picture. |
Day 7 at the nursery. Another perfect day.
 |
This bad boy is my next challenge. When faced with a tree like this, you begin by making some cuts. The question I think of often is..ok, so which ones do I cut?
CUTTING BRANCHES
To help decide to cut or not consider these 7 things:
1. Find the front of the tree. What will look the best?
2. Cut all branches that are too thick and heavy. Make them into jins - dead wood.
3. Think - If I do cut will it create
some nice positive/negative space?
4. Once cut, can another branch
take its place?
5. Cut any really weak branches away.
6. Any branches that grow straight down or straight up - cut!
7. Any branches that are low down and grow straight in your face, blocking the base or middle section of the trunk- cut!
|
 |
After about 3 days work! I wired every branch and took a great deal of time thinking about branch position. I was really pleased with this tree. I would love to see it grow and look at it again in a few years time.
My last day at Kouka-en Nursery I was given a little baby to work on. This guy was surprisingly difficult to wire. A lot of small branches! I realized that you do not always have to wire the entire branch to re position it. I wired quite a few half branches and either lowered them or shaped them in a position that made the tree appear older.
|
 |
| Here is the little guy. Oh, and the tree is there as well. |
 |
| Maeoka-san - a teacher at Kouka-en. He was an excellent bonsai artist and a very patient man. I asked him a lot of questions! |
 |
| I end up walking once more around the nursery and taking some more pictures before I depart. |
 |
| A quality bonsai. |
 |
| Thanks to Mr. Fugikawa, Maeko-san, David Martinez, Dario Mader, and Yuri Hayama for being friendly, welcoming and patient. I look forward to seeing their names up in lights in the world of bonsai in the future. |


